Understanding the Magic of Tempered Chocolate
There's a certain magic to a perfectly crafted piece of chocolate. That satisfying snap as you break it, the smooth, melt-in-your-mouth texture, and the inviting glossy sheen that catches the light – these aren't accidental. They're the hallmark of well-tempered chocolate. If you've ever wondered how to temper chocolate at home to achieve these professional-quality results, you're in the right place. While the term "tempering" might sound intimidatingly technical, it's a fundamental process that any home cook can master with a little knowledge and practice.
So, what exactly is tempering? At its heart, tempering is a precise series of heating and cooling stages designed to control the crystallization of cocoa butter, the fat component within chocolate. When chocolate is melted, its organized cocoa butter structure breaks down. If allowed to cool randomly, the cocoa butter will recrystallize into unstable forms, leading to dull, streaky chocolate that's soft, crumbly, and prone to "bloom" – those unsightly white or grey streaks and patches. Tempering, however, coaxes the cocoa butter fat crystals to reorganize into a specific, highly stable and organized structure, known as Form V. This is the "magic" form that gives chocolate its desirable qualities: a beautiful shine, a firm yet crisp snap, and a smooth, consistent melt.
The significance of Form V crystals cannot be overstated. Cocoa butter can actually form six different types of crystals, each with unique melting properties. Only Form V offers the perfect balance of stability and melting point, making your chocolate resilient yet delightful. Without proper tempering, your chocolate creations might taste delicious, but they simply won't have that eye-catching appeal or satisfying texture that truly elevates them. For a deeper dive into the fascinating science behind these crystals and their impact, explore The Science of Perfect Chocolate: Shine, Snap & Stable Crystals.
Essential Tools & Ingredients for Success
Before you embark on your tempering journey, ensuring you have the right tools and ingredients is crucial. Think of it as preparing your culinary laboratory for a delicious experiment. Investing in a few key items will significantly increase your chances of success.
The Right Chocolate Matters
Just as a painter wouldn't skimp on quality paints, don't compromise on your chocolate. When learning how to temper chocolate, starting with high-quality chocolate is paramount. Look for chocolate with a high cocoa butter content, as this is what you're working to stabilize. Premium brands often indicate the cocoa percentage, especially for dark chocolate, which typically contains 25-40% cocoa butter. Avoid chocolate chips designed for baking, as they often contain stabilizers that can interfere with the tempering process. Opt for couverture chocolate, chocolate bars, or baking chocolate that's specifically labeled as high quality.
Key Equipment for Your Kitchen
- Digital Thermometer: This is arguably your most important tool. Precision is non-negotiable when dealing with cocoa butter crystals. A good quality digital probe thermometer or an infrared thermometer will provide accurate temperature readings, which are absolutely critical for success.
- Double Boiler Setup: This gentle, indirect heating method prevents chocolate from scorching or overheating, which can easily ruin the cocoa butter. You'll need:
- A heavy-bottomed saucepan for simmering water.
- A heatproof bowl (metal or heat-resistant glass) that fits snugly over the saucepan without touching the water below. Metal bowls are often preferred as they are lighter and conduct heat efficiently.
- Tip for Success: Ensure the bowl doesn't touch the simmering water to prevent direct steam contact, which can cause seizing. Also, always wipe the bottom of the bowl dry when lifting it off the saucepan to prevent any water droplets from falling into your chocolate, as even a tiny amount of water can seize chocolate.
- Rubber Spatulas: For gentle and continuous stirring.
- Chocolate Molds (Optional but Recommended): If you plan to make shaped chocolates, silicone or polycarbonate molds are excellent. Otherwise, parchment paper can be used for dipping items or spreading chocolate thin.
- Patience: This isn't a race. Tempering is a delicate dance of temperature and time. Rushing the process will almost always lead to unsatisfactory results.
Mastering the Tempering Process: The Seeding Method
Among the various methods to temper chocolate, the "seeding method" is widely considered the easiest and most reliable for home cooks. It involves melting chocolate, cooling it down by adding "seed" chocolate (already tempered chocolate), and then gently raising it back to a working temperature. This introduces stable Form V crystals to guide the rest of the chocolate into proper temper.
Here’s a step-by-step guide on how to temper chocolate using the seeding method:
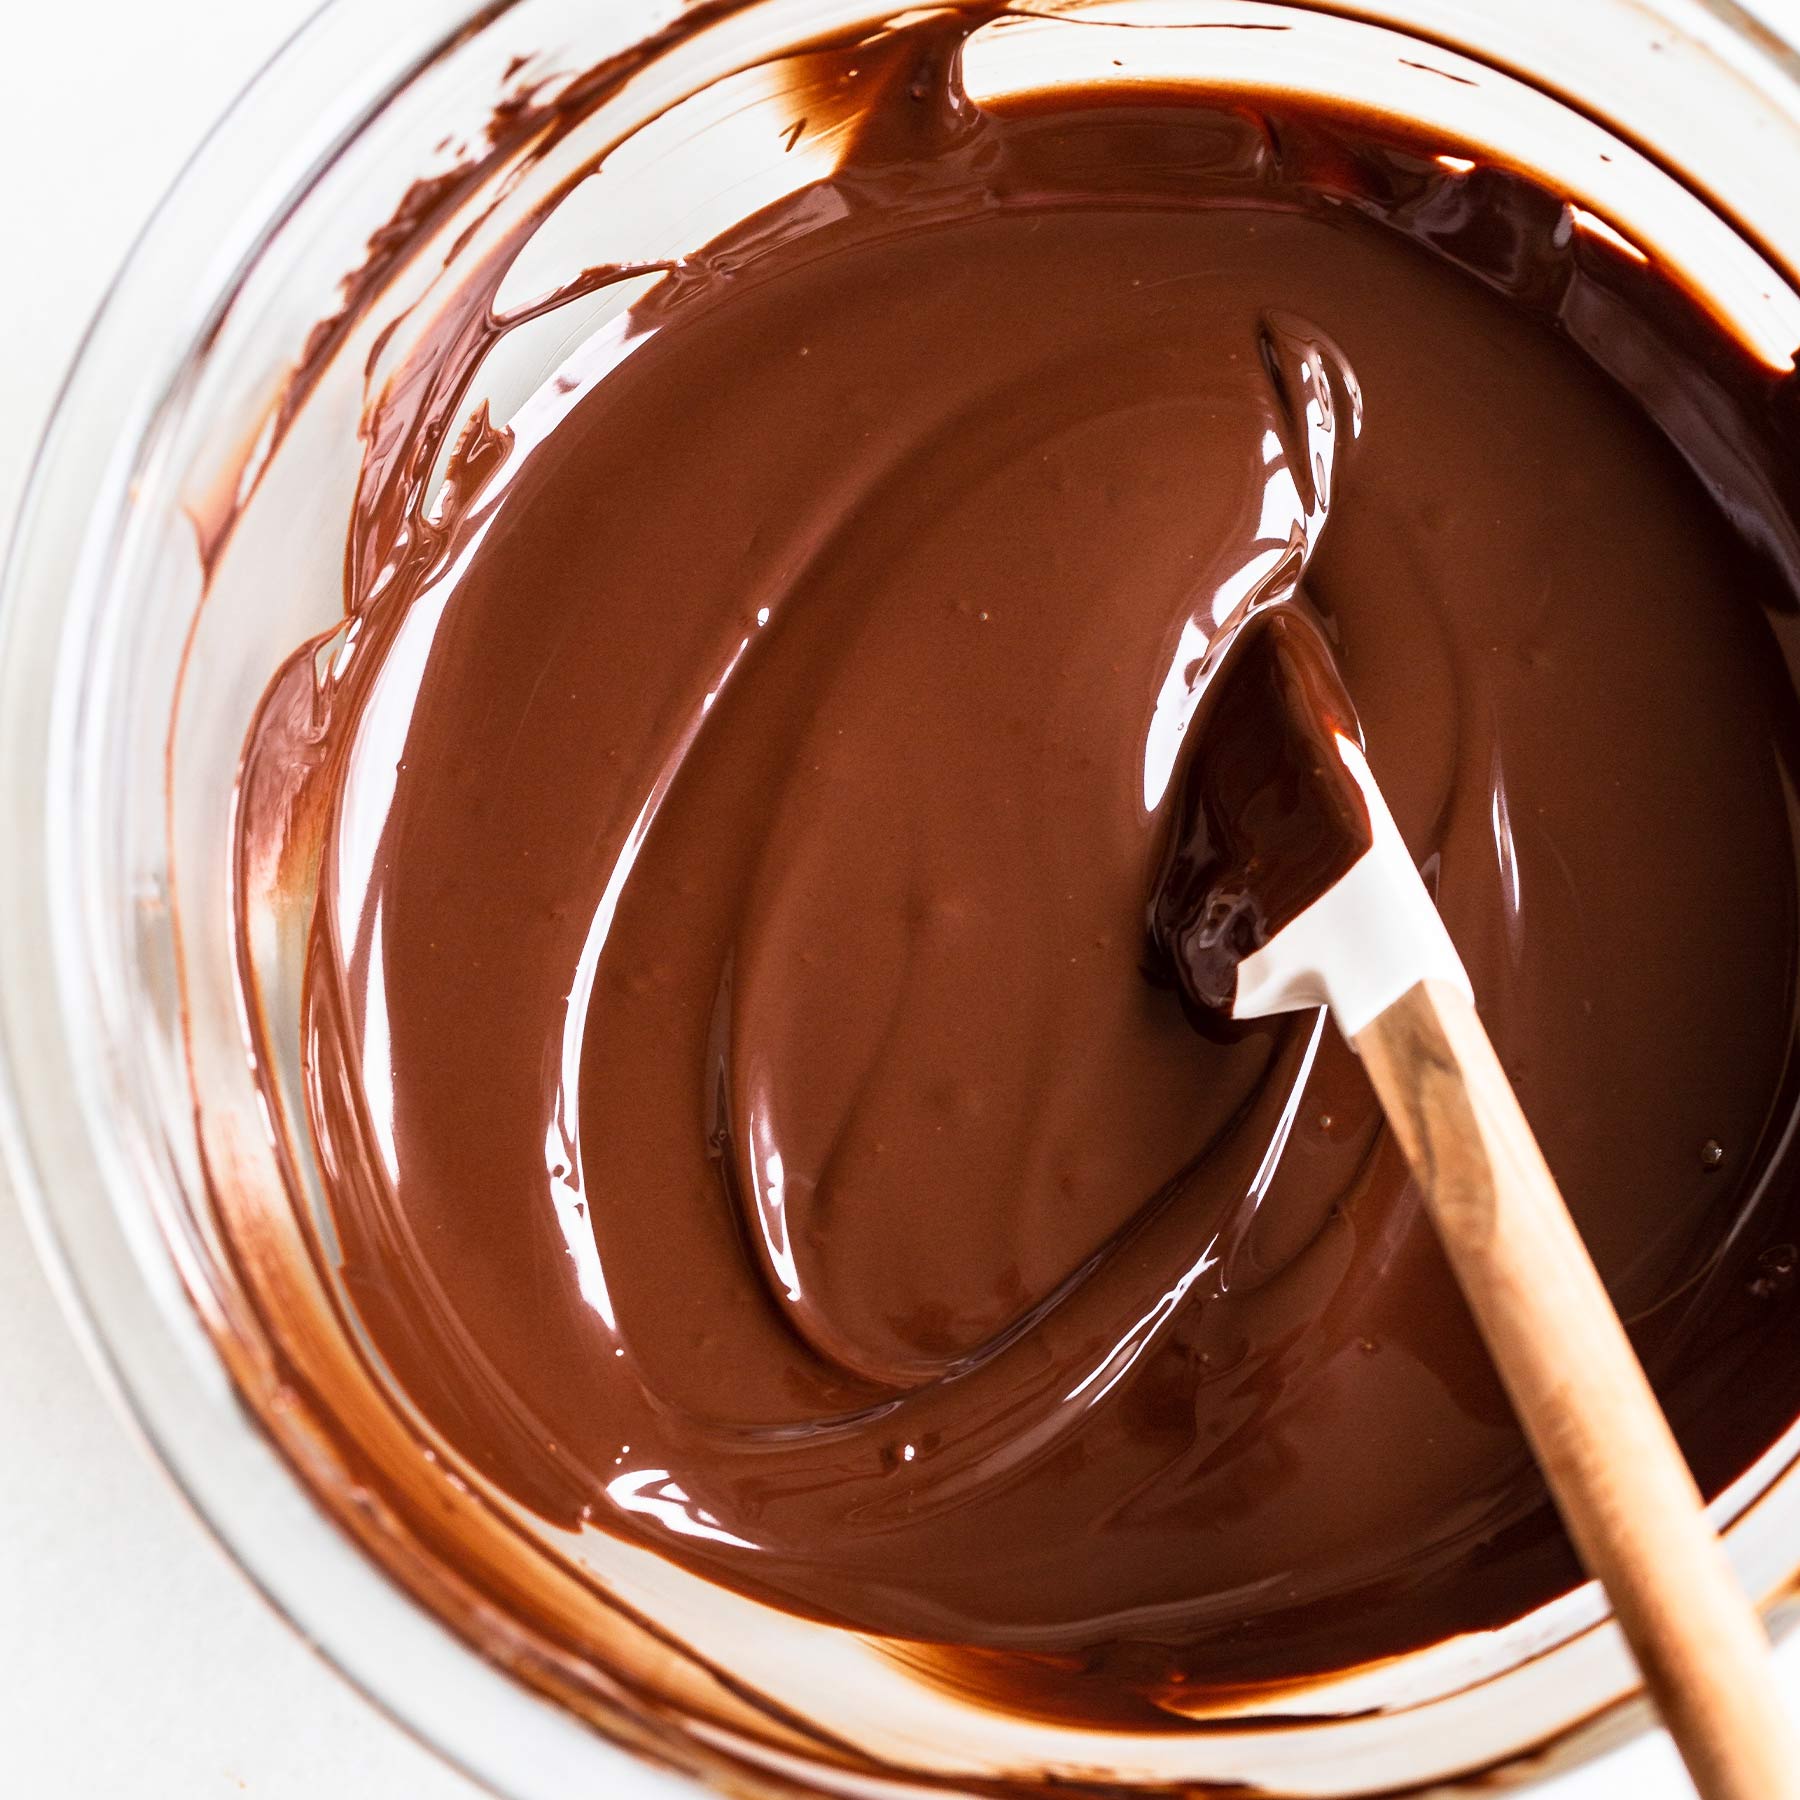
Step 1: Gentle Melting
- Finely chop about two-thirds of your high-quality chocolate. The finer the chop, the faster and more evenly it will melt.
- Set up your double boiler: Place the chopped chocolate in your heatproof bowl over a saucepan with about 1-2 inches of gently simmering water. Ensure the bottom of the bowl does not touch the water.
- Stir continuously with a rubber spatula until the chocolate is fully melted and smooth. Monitor the temperature carefully with your digital thermometer. The target melting temperatures vary by chocolate type:
- Dark Chocolate: Aim for 115-120°F (46-49°C)
- Milk Chocolate: Aim for 110-115°F (43-46°C)
- White Chocolate: Aim for 105-110°F (41-43°C)
Step 2: Cooling and Seeding
- Once melted to the target temperature, remove the bowl from the double boiler. Wipe the bottom dry to prevent any water from dripping into your chocolate.
- Add the remaining one-third of your finely chopped (unmelted) chocolate to the melted chocolate. This is your "seed" chocolate.
- Stir continuously and vigorously. The solid chocolate pieces will help cool down the melted chocolate while introducing stable Form V crystals. Keep stirring until the temperature drops to the following ranges:
- Dark Chocolate: 88-91°F (31-33°C)
- Milk Chocolate: 86-88°F (30-31°C)
- White Chocolate: 82-84°F (28-29°C)
Step 3: Bringing it Back to Working Temperature
This crucial step brings the chocolate back to a temperature where it's fluid enough to work with, but still maintains its temper.
- Briefly place the bowl back over the warm (but not simmering) water of your double boiler for just a few seconds, or use a heat gun on a low setting, or even a hairdryer on low (carefully, away from direct contact). The goal is to gently warm the chocolate by a few degrees, *without* melting out the newly formed stable crystals.
- Stir constantly and check the temperature frequently. Aim for these final working temperatures:
- Dark Chocolate: 88-91°F (31-33°C)
- Milk Chocolate: 86-88°F (30-31°C)
- White Chocolate: 82-84°F (28-29°C)
Testing Your Temper
To confirm your chocolate is properly tempered, perform a simple test: Dip the tip of a knife, a spoon, or a piece of parchment paper into the chocolate. Let it sit at room temperature for 3-5 minutes. If it's properly tempered, the chocolate should set quickly, appear glossy, and have no streaks or dull spots. If it doesn't set or looks dull, you'll need to re-temper it, starting from Step 1 of the melting process.
Tips for Working with Tempered Chocolate
Once your chocolate is perfectly tempered, the clock is ticking! Tempered chocolate has a limited "working window" before it cools too much and loses its temper. Here are some tips to keep your creations flawless:
- Work Quickly and Efficiently: Have all your molds, fillings, or items ready for dipping before you start tempering.
- Maintain Working Temperature: Keep your chocolate in temper by periodically rewarming it slightly if it starts to thicken. A warm (not hot) heating pad under the bowl or a quick dip back over the warm water bath can help, but be vigilant with your thermometer.
- Control Your Environment: Work in a cool, dry room, ideally between 68-72°F (20-22°C) with low humidity. High heat or humidity can negatively impact the setting and shine of your chocolate.
- Cleanliness is Key: Ensure all your tools and molds are impeccably clean and dry. Any residue or moisture can ruin your chocolate.
- Don't Waste Leftovers: Leftover tempered chocolate that hasn't come into contact with water or other ingredients can be cooled, re-chopped, and used as seed chocolate for your next tempering project.
Learning how to temper chocolate truly elevates your homemade confections, transforming them from simple treats into works of art. The journey from dull, crumbly chocolate to a glossy, snappy masterpiece might require a little patience and practice, but the rewards are undeniably worth it. The satisfaction of biting into a perfectly shiny, crisp chocolate truffle or bonbon you made yourself is unmatched. So, grab your thermometer, choose your favorite high-quality chocolate, and get ready to impress with your newfound tempering skills!
For more easy and accessible methods to achieve perfect chocolate results at home, check out our guide on How to Temper Chocolate at Home: Easy Methods for Shine & Snap.
